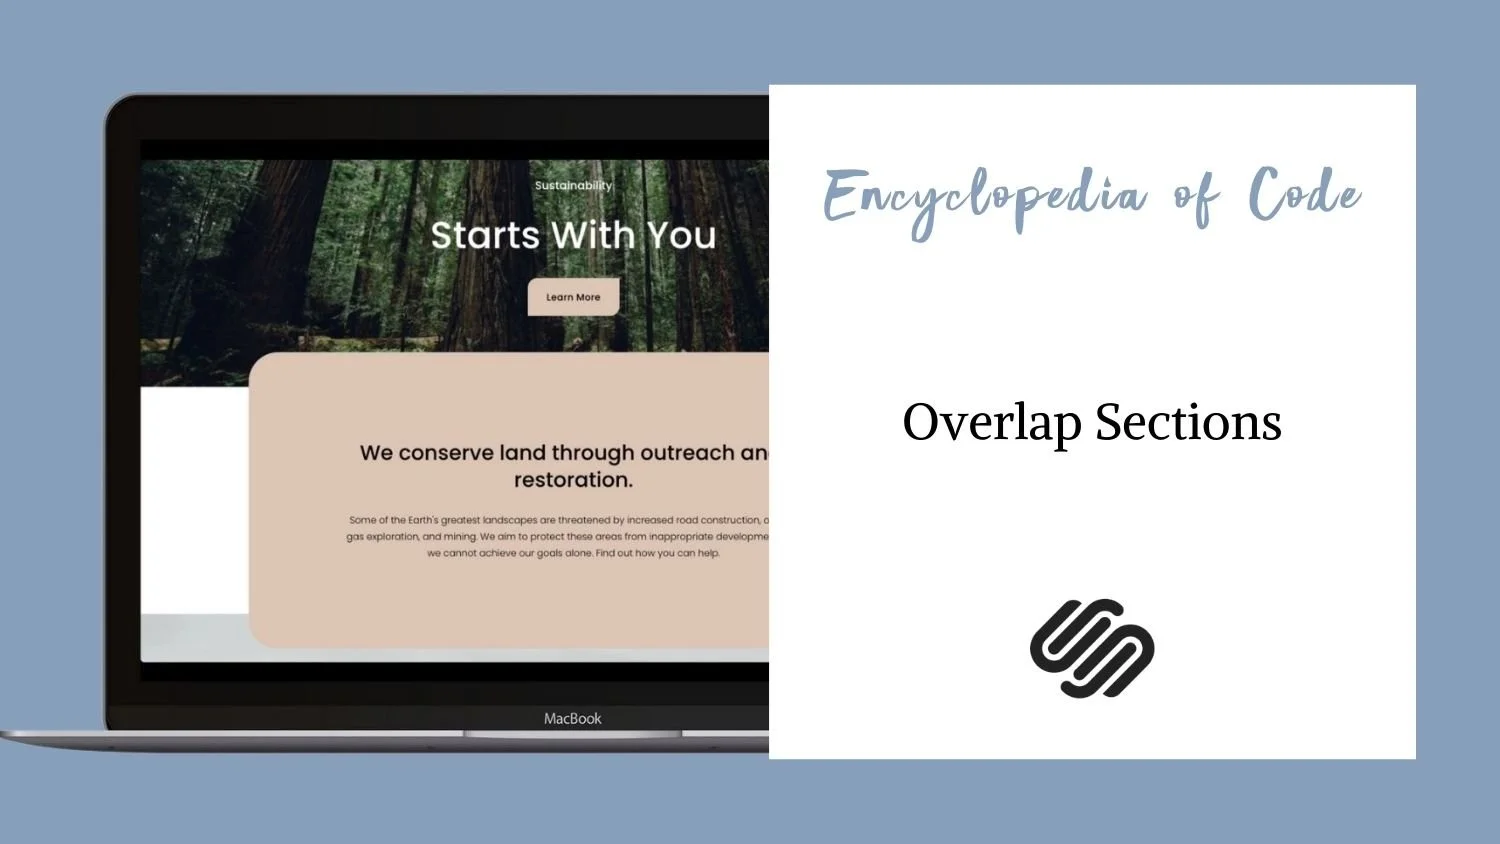
Overlap Sections
What does this code do?
This code snippet will allow you to overlap sections so that the content moves outside of its space.
Note: You can achieve a similar effect with a creative use of background images. Check out this post first to see if you can achieve the look you are going for without code.
Note 2: If you want to add a parallax effect to the section, check out this code snippet.

Video Tutorial
First…
Before we get to the code snippet, you need to decide how you want to target this section. If you are only going to use this effect on a few sections, I suggest targeting them using their data section id or their collection id and section position. You can use a comma between them to target multiple sections. For example,
[data-section-id="ID GOES HERE"], [data-section-id="ID GOES HERE"], [data-section-id="ID GOES HERE"]
or
#COLLECTIONID #page .page-section:nth-of-type(1), #COLLECTIONID #page .page-section:nth-of-type(1), #COLLECTIONID #page .page-section:nth-of-type(1)
or if they are on the same page
#COLLECTIONID {
#page .page-section:nth-of-type(1), #page .page-section:nth-of-type(3), #page .page-section:nth-of-type(5) {
CODE GOES HERE
}
}
If you will be using this effect several times across the site you can use a class name that is similar across the sections such as .content-width--medium or .bright . Just note that this will apply the effect to all sections that have their width set to medium or are using the bright color theme.
Once you have made your choice, you can use that selector in the code snippet below.
Code Snippets
Copy and paste this code into Design > Custom CSS
/* Overlaping Sections */
SELECTOR {
  .section-background {
    z-index: 1 !important;
    border-radius: 50px; /* curved corners */
    margin: -4vw auto; /* space above and below, centered */
    max-width: 75vw; /* width of the background */
  }
  .content-wrapper {
    z-index: 1 !important;
    max-width: 70vw; /* width of the content */
  }
}
Change the word SELECTOR to what you chose above. Then customize the size, spacing, and placement.
For example, if I had three sections I wanted to apply this to I might use their data-section-ids like this…
/* Overlaping Sections */
[data-section-id="625f2c6f02bb80444559940b"], [data-section-id="62601ba0f5369c3c8899844f"], [data-section-id="62601c2a9df869004bbb0959"] {
  .section-background {
    z-index: 1 !important;
    border-radius: 50px; /* curved corners */
    margin: -4vw auto; /* space above and below, centered */
    max-width: 75vw; /* width of the background */
  }
  .content-wrapper {
    z-index: 1 !important;
    max-width: 70vw; /* width of the content */
  }
}
Or if they are on the same page I could use…
/* Overlaping Sections */
#collection-625f2c6f02bb804445599407 {
  #page .page-section:nth-of-type(2),
  #page .page-section:nth-of-type(4),
  #page .page-section:nth-of-type(6) {
    .section-background {
      z-index: 1 !important;
      border-radius: 50px; /* curved corners */
      margin: -4vw auto; /* space above and below, centered */
      max-width: 75vw; /* width of the background */
    }
    .content-wrapper {
      z-index: 1 !important;
      max-width: 70vw; /* width of the content */
    }
  }
}
How To Use It
Choose how you would like to target your sections.
Copy and paste the code as indicated above.
Change the word SELECTOR to what you chose in step 1. Then customize the size, spacing, and placement.